Why Enable Webex Assistant?
Webex meetings run smoother when participants can rely on live help during the call itself. enable webex assistant turns the platform from a simple recorder into an active participant. It catches questions, offers summaries, and surfaces action items before anyone leaves the room. Most organizations already pay for the feature. Yet many teams never turn it on. The toggle sits several clicks deep in Control Hub. Once active, the assistant listens for voice commands. It generates transcripts in real time. It lets hosts ask follow-up questions about anything said minutes earlier. IT administrators manage rollouts for sales or training teams. They find this especially useful. It reduces the need for separate note-taking apps. The change takes only a few minutes. It affects every scheduled meeting afterward. A quick test run is worth the effort before inviting a full group.
Step-by-Step Guide
- Log in to Cisco Control Hub with an account that holds full administrator rights. Navigate to the Services menu. Then select Meetings from the left navigation pane. Scroll until you locate the Webex Assistant option listed under meeting features. Click the toggle to the on position. Choose the scope that applies to your entire organization or to specific sites only. Save the setting and wait for the confirmation message that appears at the top of the screen. This first action registers the feature at the account level. It is required before any meeting host can use voice commands.
- Return to the same Meetings section and open the licensing panel. Confirm that every host who will run meetings with the assistant has an assigned license that includes the add-on. Without the license the toggle stays grayed out inside the meeting window. This happens even if Control Hub shows the feature as enabled. Assign licenses in batches if your team exceeds fifty users. Then refresh the page to verify the changes took effect. This step prevents the most common support ticket that arrives after launch day.
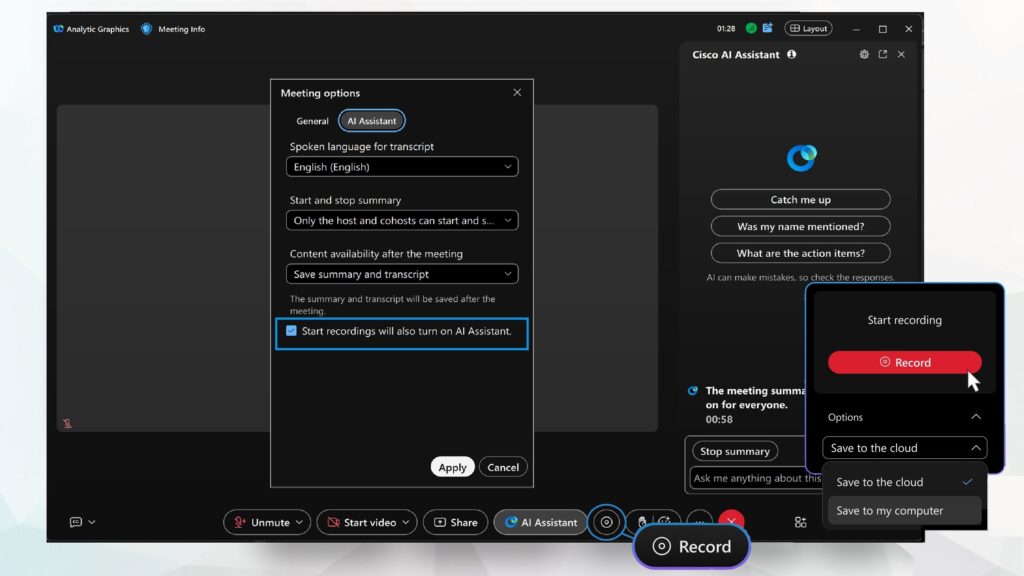
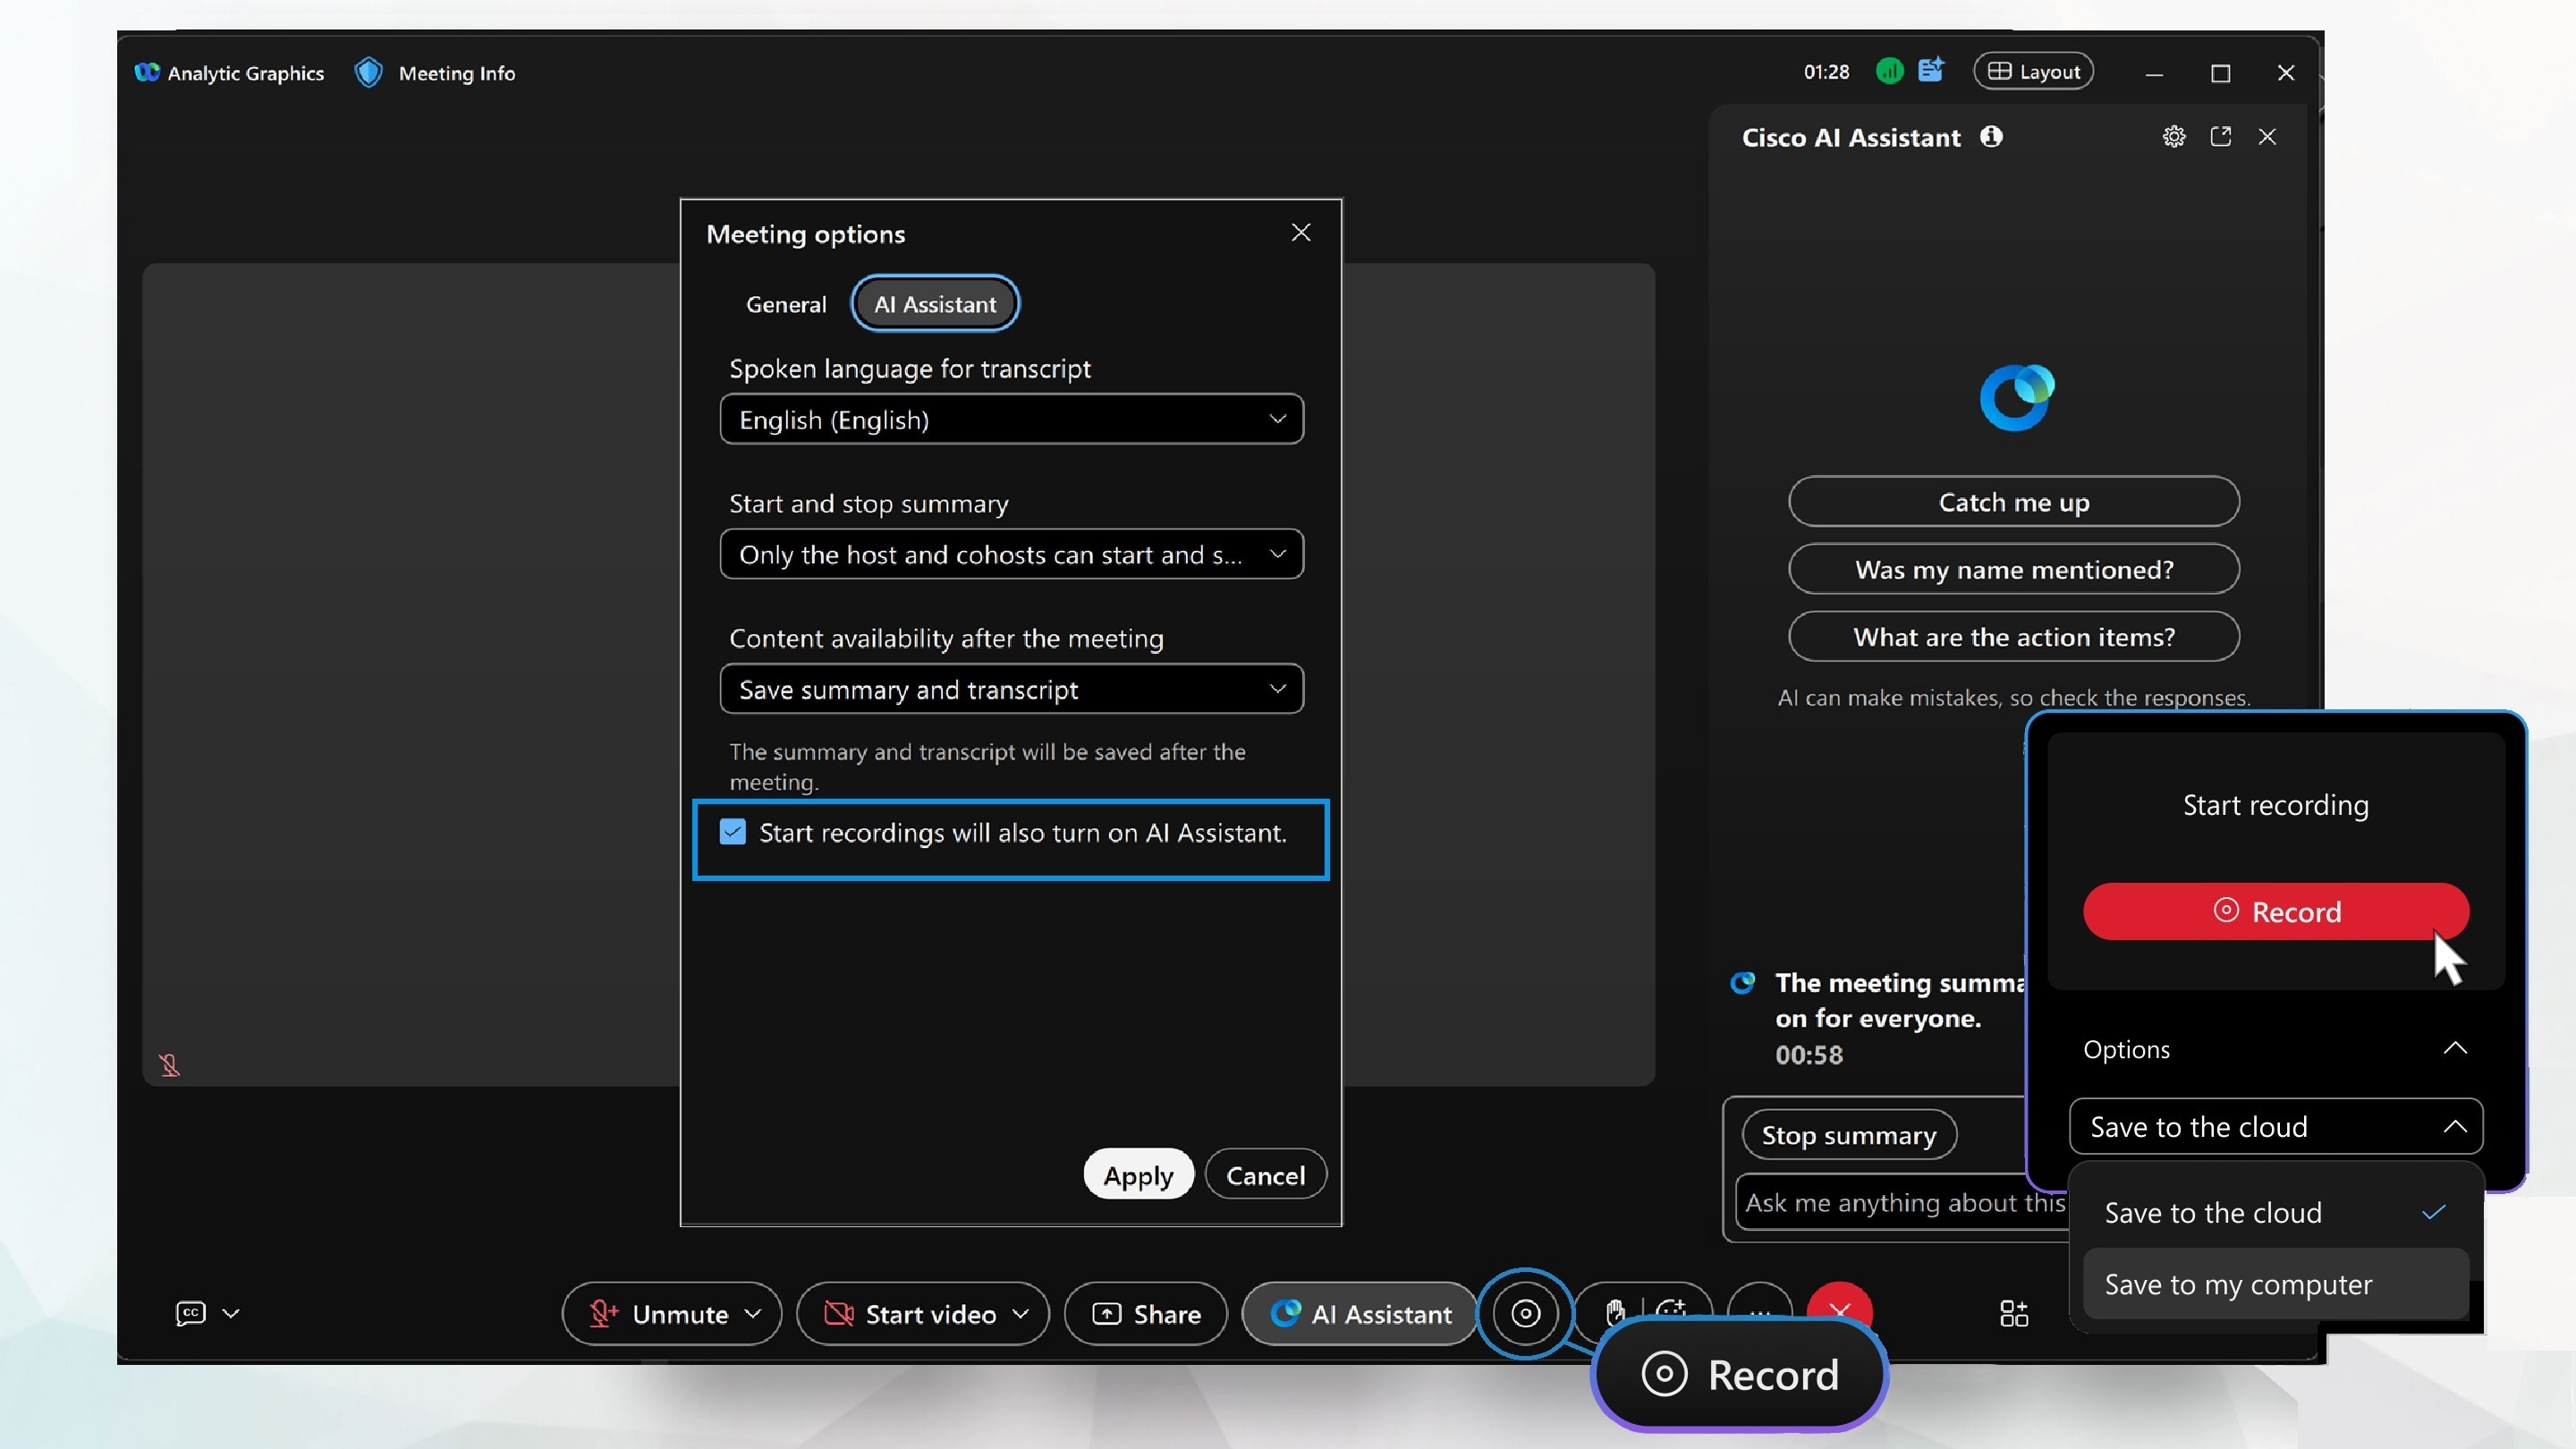
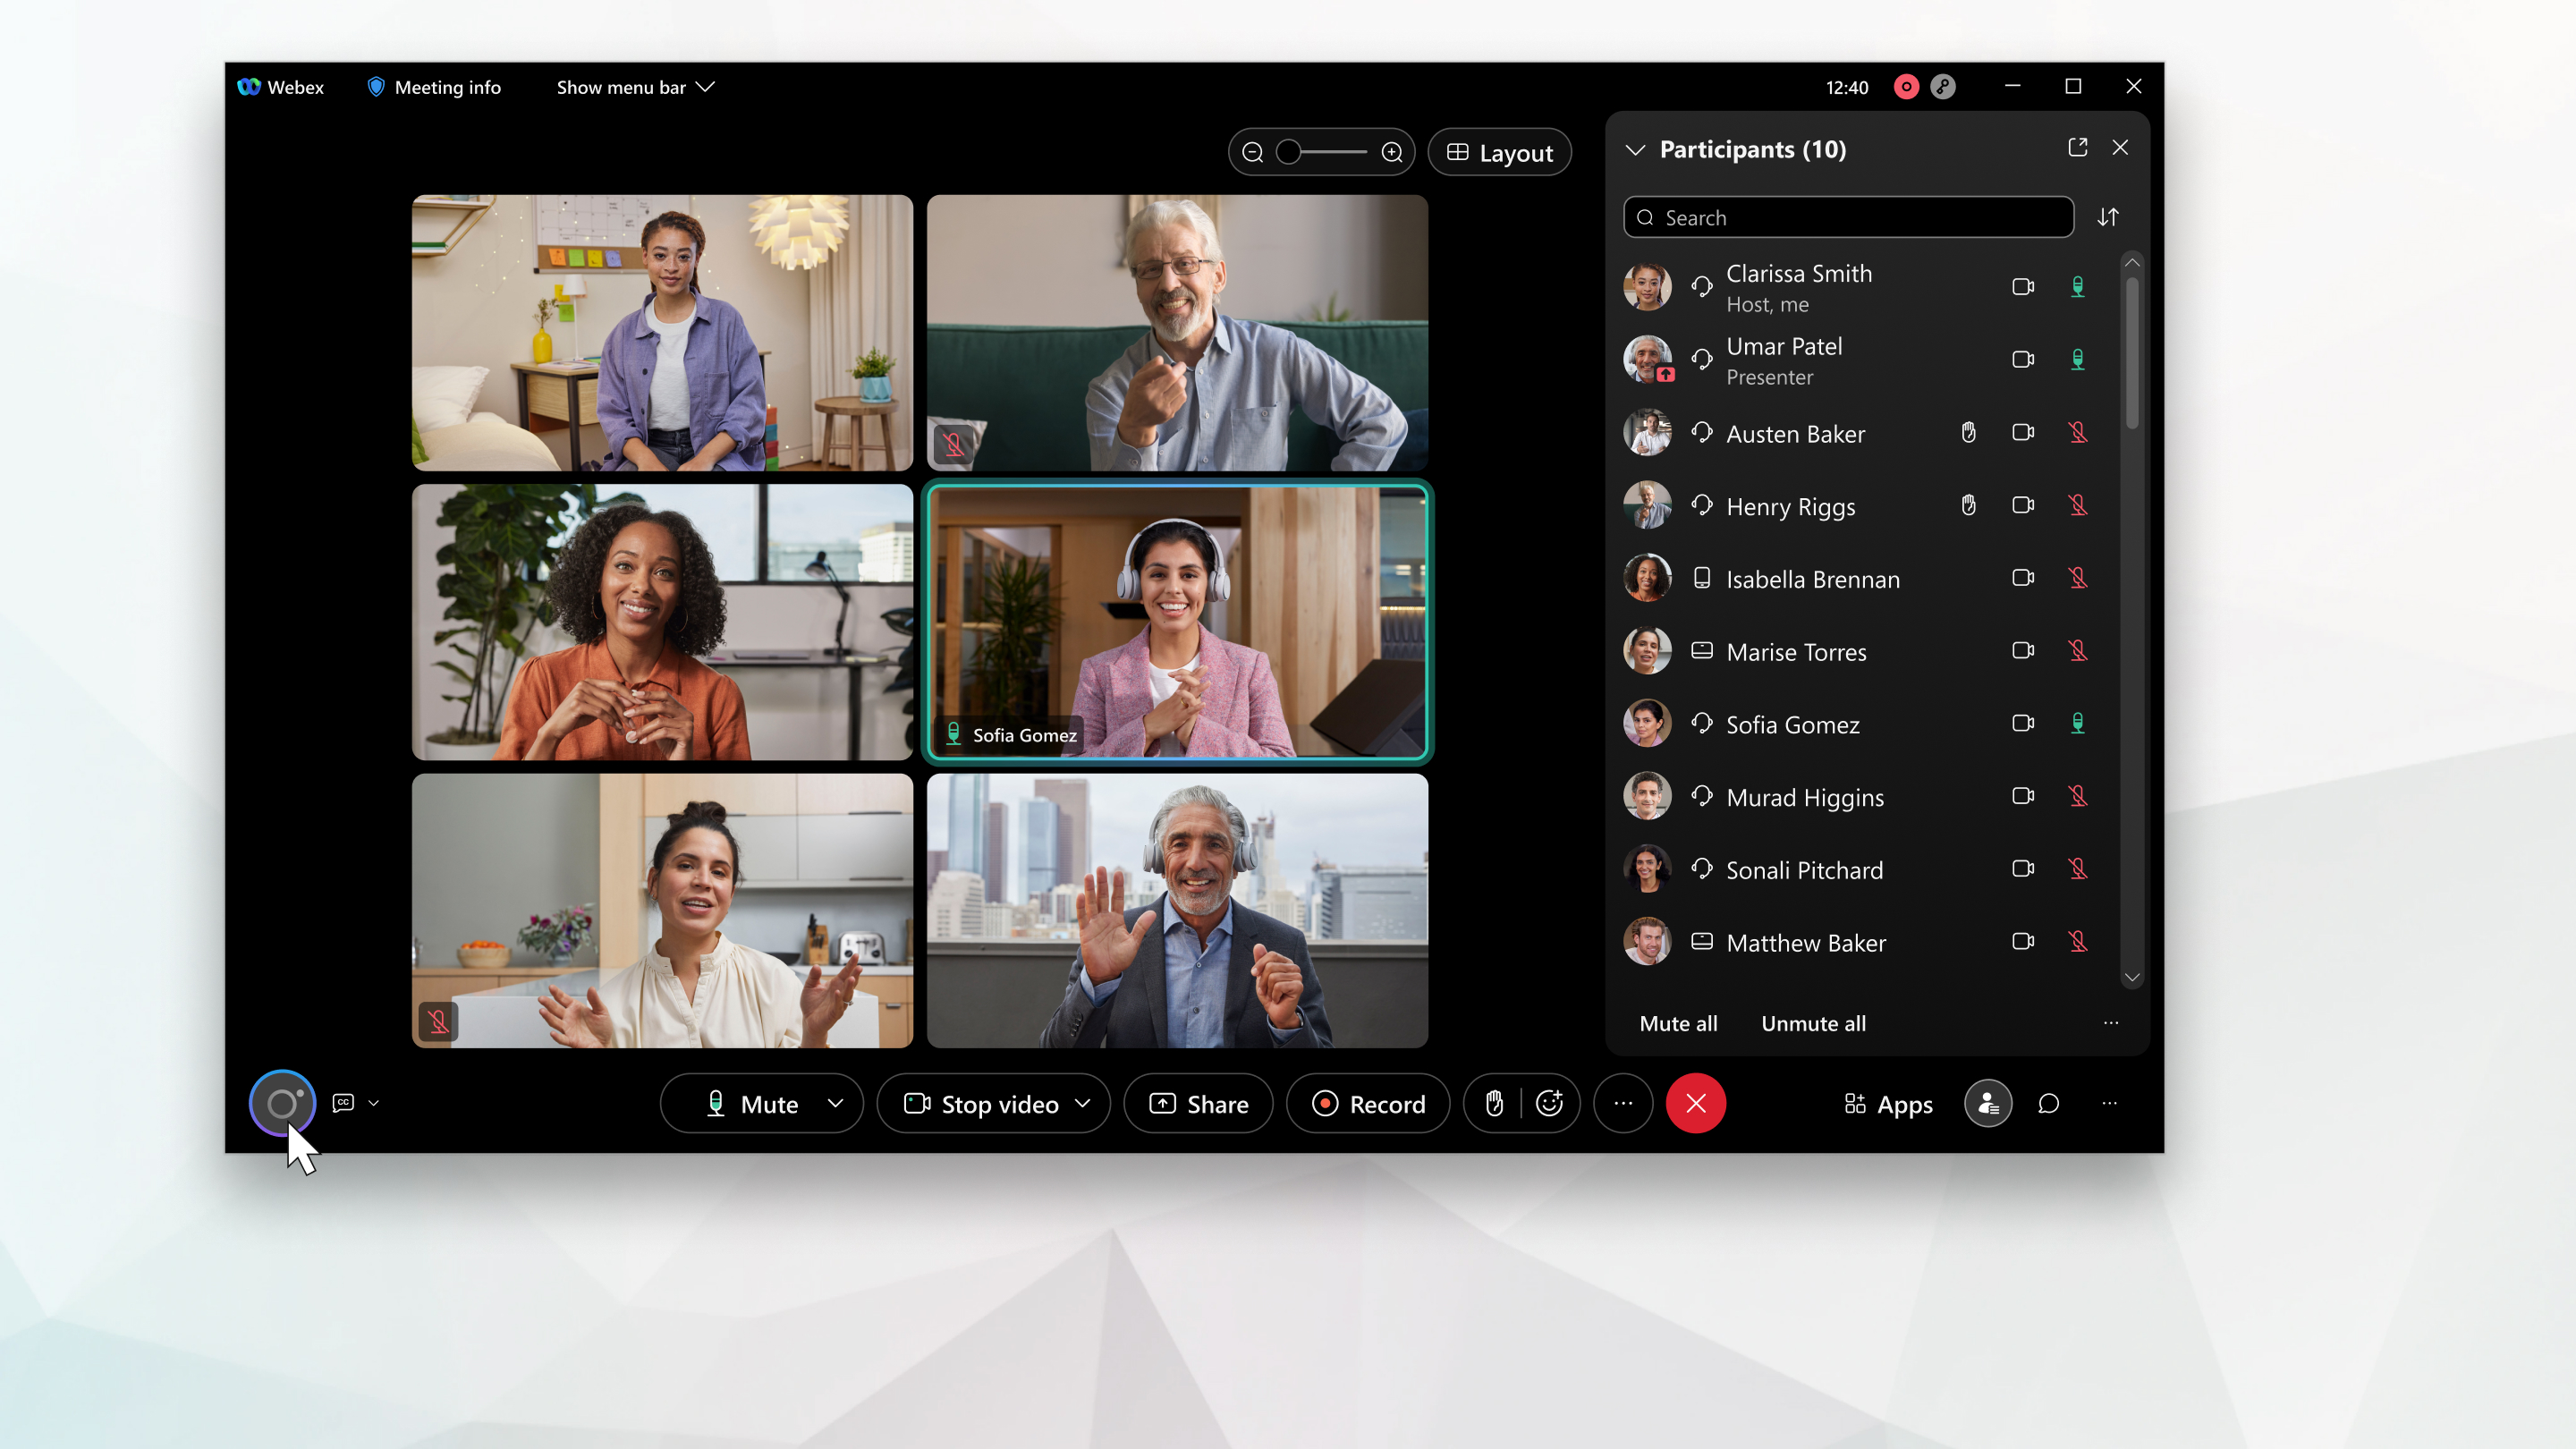
- Start a test meeting from the Webex desktop app while still logged in as the administrator. Once the meeting begins, look for the Assistant button that now appears in the control bar at the bottom of the window. Click it and choose the option labeled Enable for this meeting. The button turns blue and a small microphone icon appears next to participant names when the assistant is listening. Speak the phrase “Hey Webex, start notes” to confirm the system responds with an audible chime. It begins capturing the conversation.
- During the same test call, issue a second command such as “Hey Webex, what was the last action item?” The assistant should return a short spoken summary drawn from the live transcript. If the reply is accurate, the feature is functioning at the meeting level. End the call and open the meeting recording from the Webex portal. Check that both the transcript and the generated notes appear in the post-meeting dashboard within five minutes.
- Share the new capability with your team by sending a short internal message that lists three starter commands. Include a link to the recognized command list so users can practice on their own. Remind everyone that the assistant only activates when the host explicitly turns it on inside each meeting. This happens even after the account toggle is set. This extra click protects privacy in sensitive discussions. It still gives teams the option to use the tool when it adds value.
- Schedule a follow-up review thirty days later by pulling usage reports from Control Hub. Look for the percentage of meetings that actually activated the assistant. Compare it against total meetings hosted. If adoption stays below thirty percent, consider adding a reminder banner inside the scheduling flow. It prompts hosts to enable webex assistant. Continuous monitoring keeps the rollout from stalling after the initial excitement fades.
Common Mistakes
- ❌ Wrong: Turning on the account toggle but forgetting to assign the assistant license to individual hosts. The feature appears enabled in Control Hub, yet the button stays missing inside meetings. ✅ Right: Check the license panel immediately after the first toggle. Assign the add-on before announcing the change to the team so everyone can enable webex assistant without delay.
- ❌ Wrong: Assuming the assistant runs automatically in every meeting once the account setting is saved. Hosts must still click the button at the start of each call. ✅ Right: Train hosts to enable the assistant during the first two minutes of every meeting until the habit becomes automatic.
- ❌ Wrong: Testing only with the administrator account and skipping a second test from a standard host account. License or site restrictions often surface only on non-admin logins. ✅ Right: Run the full verification sequence from both an admin and a regular host account before declaring the rollout complete.
Making the Decision
After completing the six steps above, run one full test meeting with your usual team. Review the generated transcript the same day. If the notes match what was discussed and the voice commands respond quickly, the feature is ready for wider use. Teams ready to enable webex assistant can review the list of webex assistant commands to see every phrase the system understands. Many organizations pair the built-in tool with an external option such as edisyn.io for deeper analysis after the call ends. The combination gives live support during the meeting and richer post-meeting insights without replacing either system. Start small, measure adoption, and expand only after the first group reports clear time savings.
- Webex Assistant Compared With Built-in Meeting Controls
- Core Components of the Cisco Webex Assistant
- Connecting Calendars to a Virtual Scheduling Assistant
- Setting Up An Assistant For Automatic Google Calendar Bookings