Who Is Scheduling Assistant Google Calendar
Many professionals spend valuable minutes each day copying meeting details from Gmail threads into Google Calendar by hand. This repeated task adds up quickly when several confirmations arrive in a single afternoon. A scheduling assistant google calendar solves that friction by reading incoming messages and creating the events automatically.
People who already keep their availability inside Google Calendar but still handle the final booking step manually form the main audience. Sales teams, consultants, tutors, and project managers often fall into this group. They lose focus when they switch between email and calendar just to lock in a time slot.
Students and instructors also benefit when class schedules or office hours get confirmed through email. The same holds for recruiters who receive interview acceptances throughout the day. Anyone who wants the calendar to stay current without extra clicks will find the setup worthwhile.
Step-by-Step
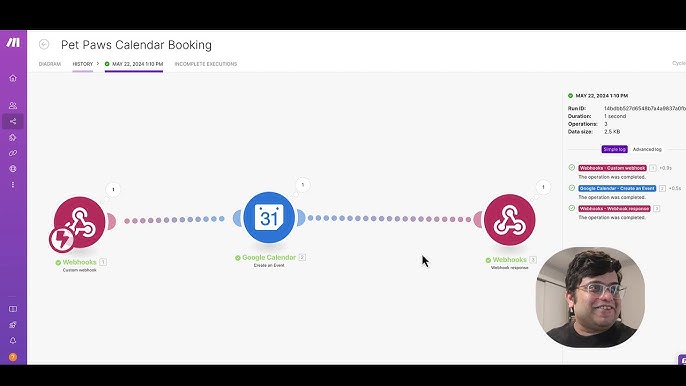
Connecting a scheduling assistant google calendar takes only a few deliberate choices. Follow the sequence below to keep the integration reliable from the first day.
1. Grant the assistant read access to Gmail labels
Begin by signing into the assistant dashboard and selecting the Gmail integration option. The tool requests permission to view messages that carry specific labels such as “Meetings” or “Confirmed.” Granting this scope lets the assistant scan only the threads that matter instead of every inbox item. Most users create a dedicated label in Gmail first so the assistant stays focused. After the connection succeeds, test the link by sending a short confirmation message to yourself and checking whether the assistant detects it. This step forms the foundation for all later automation.
2. Choose which calendar to populate
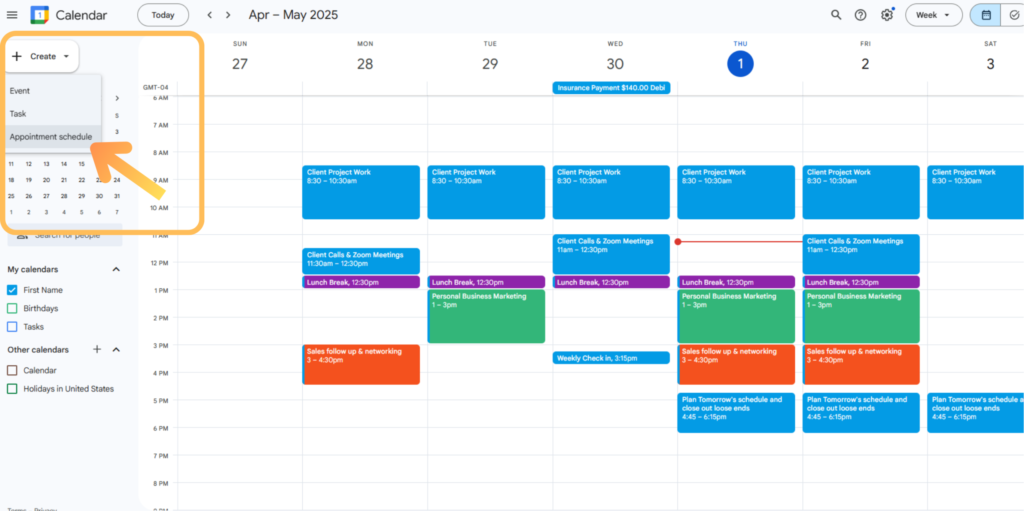
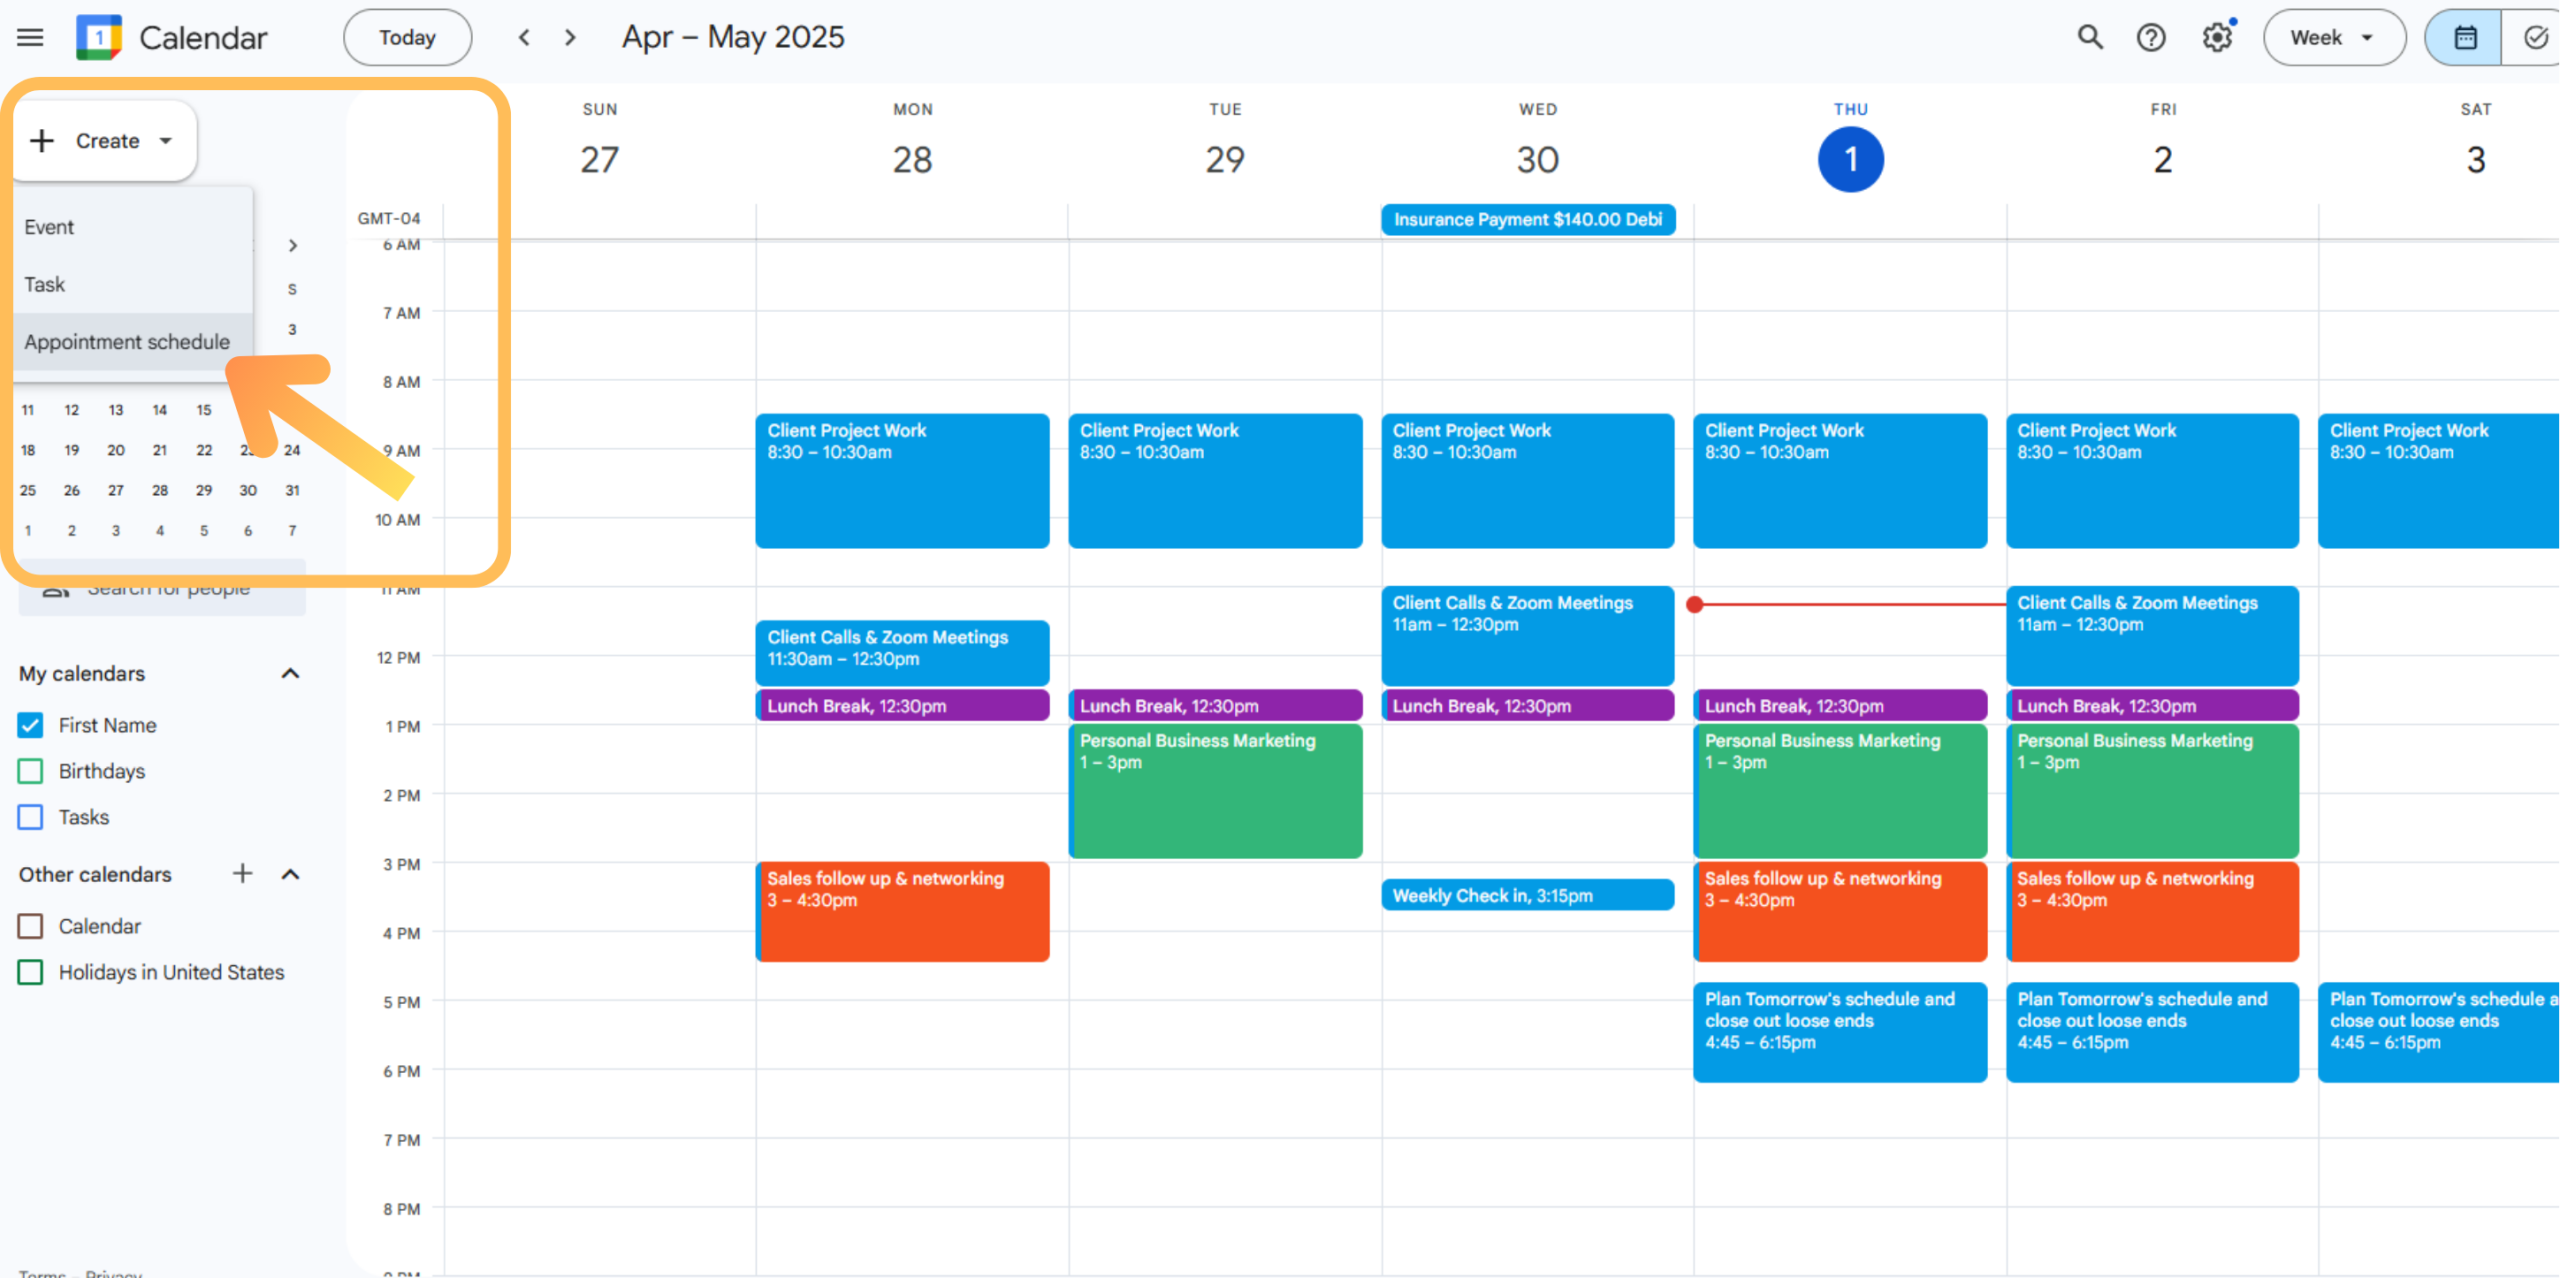
Next, decide which Google Calendar should receive the new events. Some users keep a personal calendar separate from a shared team calendar. The assistant usually displays a list of available calendars once Gmail access is active. Pick the one that already contains your normal availability so conflicts become visible right away. You can also create a new calendar named “Auto Bookings” if you prefer to review entries before they merge with your main schedule. Confirm the selection and save the setting before moving forward.
3. Define availability windows
With the calendar chosen, set the hours when new meetings may appear. The assistant lets you mark certain days or time blocks as open while blocking others automatically. For example, you might allow bookings only between 9 a.m. and 4 p.m. on weekdays. You can also add buffer periods so back-to-back calls do not run into each other. These rules prevent the assistant from suggesting times that would clash with existing appointments. Review the windows once a month because personal schedules often shift.
4. Activate Google Meet link generation
Many calendar events benefit from an automatic video link. Inside the assistant settings, turn on the option that adds a Google Meet link whenever a new event is created. This feature works only if the chosen calendar belongs to a Google Workspace or personal Gmail account with Meet enabled. Once activated, every booking confirmation email will include the join details without any extra work from you. Test the feature by creating a sample event and opening the Meet link from the calendar entry. The link should appear instantly and remain valid for invited guests.
5. Test with a sample email thread
Finally, run a controlled test. Send yourself an email that mimics a real booking confirmation and watch how the assistant processes it. Check whether the correct calendar receives the event, whether the time matches the message, and whether the Meet link is present. If anything looks off, return to the previous steps and adjust the labels or availability windows. Repeat the test with a second thread that contains slightly different wording to confirm the assistant handles variations. After two successful tests, the system is ready for daily use.
Expert Tips
Handle recurring client calls
Set a recurring rule inside the assistant so weekly or monthly appointments appear without repeated email triggers. This works especially well for standing team meetings or coaching sessions that always use the same time slot.
Avoid double-booking across shared calendars
When several people share one calendar, add an extra check that forces the assistant to read every attendee’s availability before confirming a time. The extra scan prevents the common problem of overlapping events that appear only after the booking is complete.
Review auto-created events each morning
Spend two minutes at the start of the day scanning the events the assistant added overnight. Quick visual checks catch any misread details before they affect the rest of the schedule.
Keep buffer times consistent
Define the same buffer length for all meeting types so travel or preparation time stays protected. Consistent buffers reduce last-minute rescheduling requests from attendees who arrive early or late.
What Matters Most
Watch the first week of auto-created events closely and adjust any rules that produce incorrect times or missing details. Small tweaks early on keep the system accurate as volume grows. Once the process runs smoothly, you will notice fewer interruptions during the workday and a calendar that stays current without manual effort.
If you already use a google scheduling assistant in other workflows, the same principles apply here and make the transition even faster.
Step-by-Step Guide
- Step 1: Grant the assistant read access to Gmail labels. Begin by signing into the assistant dashboard and selecting the Gmail integration option.
The tool requests permission to view messages that carry specific labels such as “Meetings” or “Confirmed.” Granting this scope lets the assistant scan only the threads that matter instead of your entire inbox, keeping privacy intact while powering a reliable scheduling assistant google calendar workflow. Next, create or assign labels in Gmail for incoming booking requests so the scheduling assistant google calendar knows exactly which conversations to monitor.
Test the connection by applying the label to a sample thread and confirming the assistant detects it within minutes. This initial setup prevents unnecessary data exposure and ensures the scheduling assistant google calendar activates only for relevant emails, saving hours each week for busy professionals who rely on automatic event
- creation.Step 2: Choose which calendar to populate.
Open the calendar settings inside the scheduling assistant google calendar dashboard and select your primary Google Calendar or a dedicated secondary one used exclusively for client meetings. Map specific Gmail labels to different calendars if you manage multiple projects or teams. Verify that the chosen calendar appears correctly in Google Calendar after saving changes. This step guarantees that every auto-created event lands in the right place, avoiding conflicts with